
Design
In case you haven't already noticed, this project is not a paint-by-numbers project. It's a jewelry making project designed to teach you to think about your piece from start to finish, learn the basic skills you need, and then apply them to any design you wish, learning more as you go along. I think design is an important part of making jewelry, and so I'm taking a moment here to talk about design.
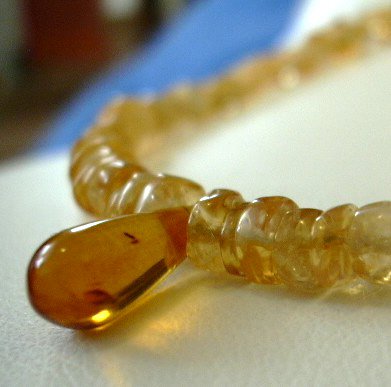
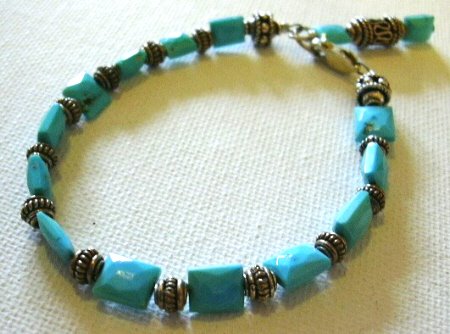
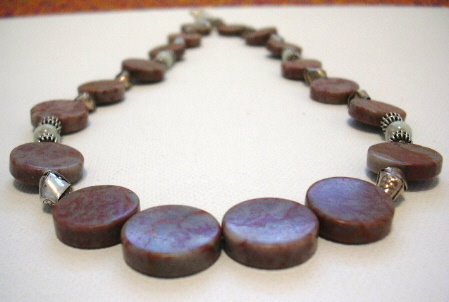
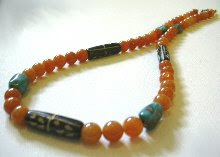
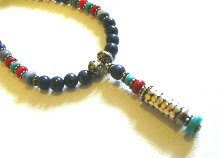
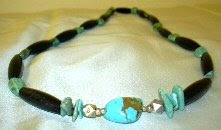
Before you begin to make the bracelet, take the time to think about your jewelry design. Look at your beads and try to imagine what they would look like arranged in different patterns. There is no law that says the entire bracelet must be made of beads of one color or one size.
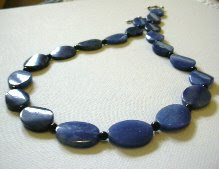
For your first design, choose a simple pattern with one approximate size of bead.
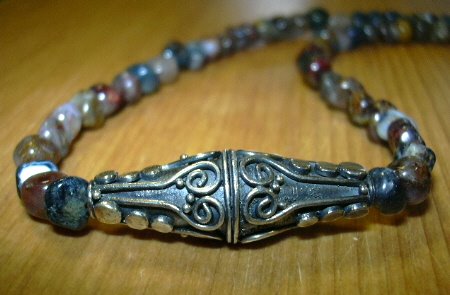
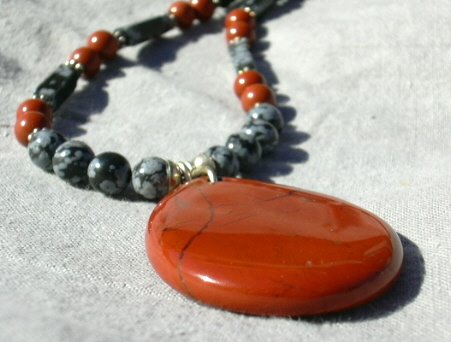
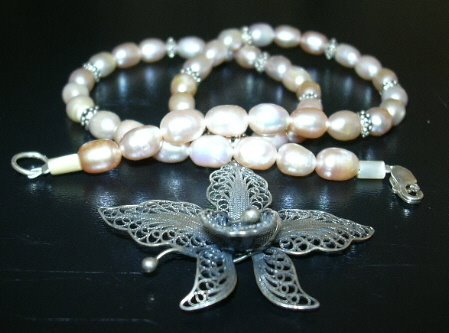
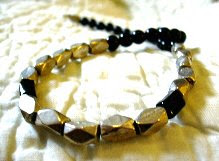
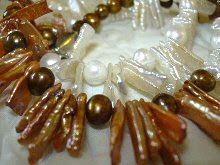
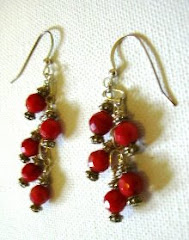
Shiny surfaces
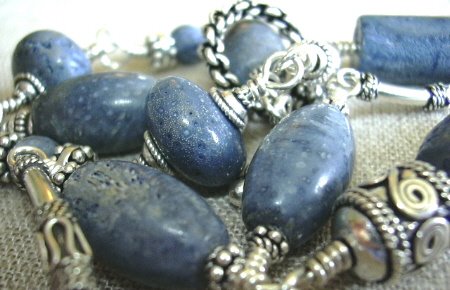
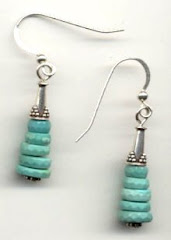
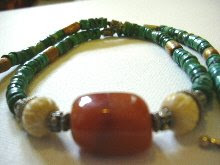
Small spacer beads set off big beads.
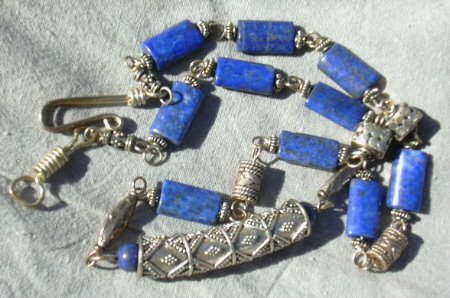
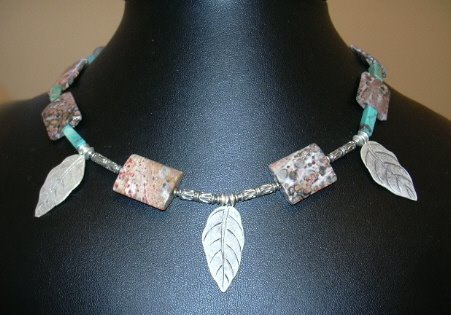
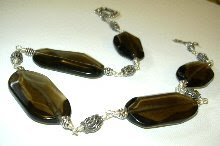
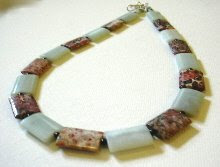
Use contrast to create irresistible designs guaranteed to impress.
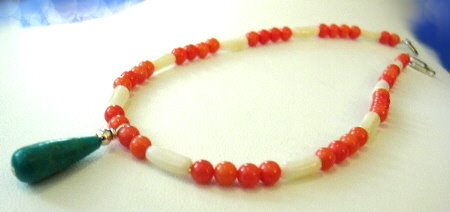
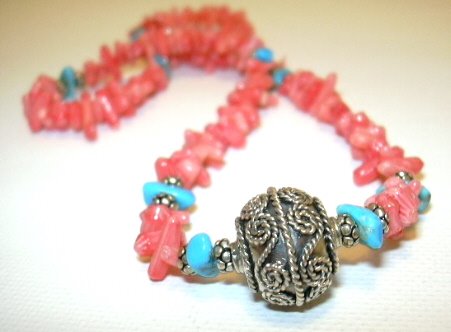
Be practical. Coral and freshwater pearls can be damaged by water. So don't use coral and pearls on bracelets that you're likely to wear when doing the dishes. And be sure that you have enough beads to finish. It's awfully frustrating - and expensive - to come up a few beads short in making wire-wrapped jewelry.
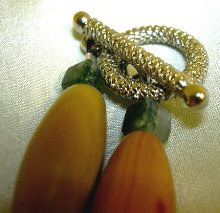
Be flexible. Don't commit to one design until you're sure it can work.
Next, we'll get started on the basic techniques you need to know to make wire-wrapped jewelry.
Note: The blog owner may be compensated for the content of this article. See the full disclosure statement regarding compensation in compliance with FTC guidelines.

No comments:
Post a Comment