Why Learn to Wire Wrap?
- Wire wrapping teaches you important jewelry-making techniques that you can apply to other jewelry types.
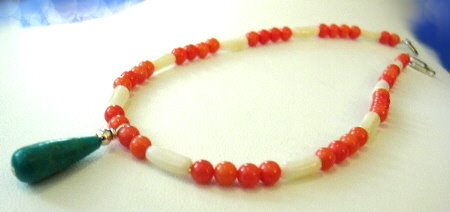
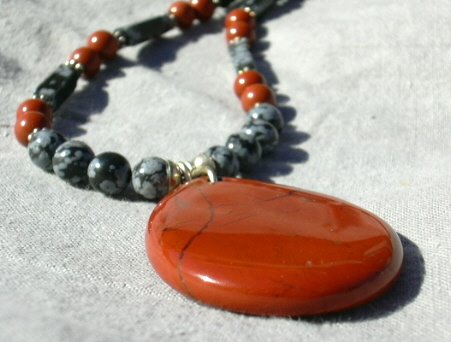
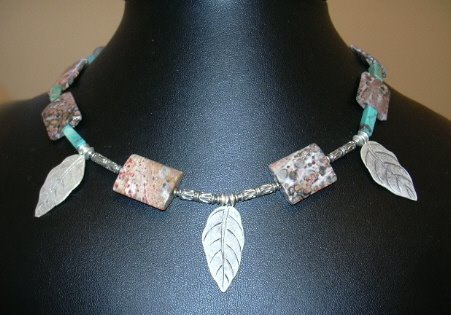
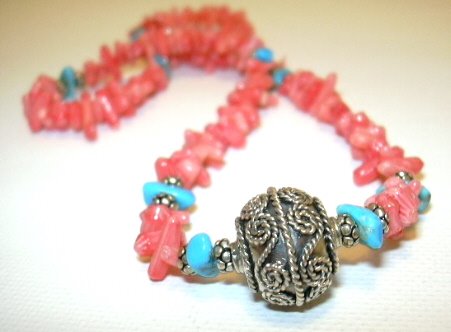
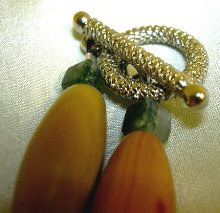
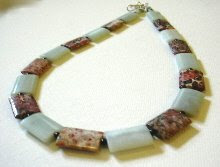
- Wire wrapped jewelry
is beautiful.
- Wire-wrapped jewelry looks professional.
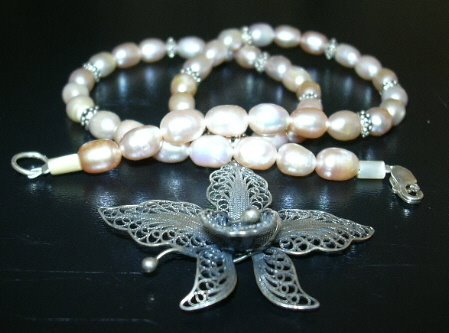
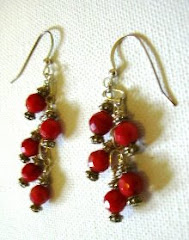
- Wire-wrapped jewelry goes with every kind of outfit—casual, formal, business.
- Wire-wrapped jewelry is sturdy and long lasting.
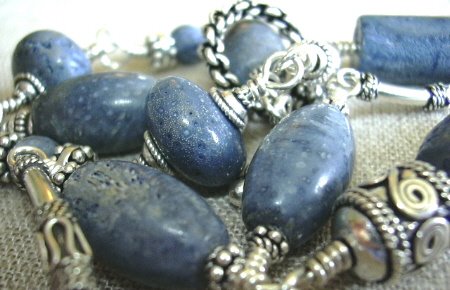
- Wire-wrapped jewelry looks much harder to make than it actually is.
- Tool: Round nose pliers
- Tool: Flat nose pliers
, chain nose pliers
, or bent nose pliers
- Tool: Flush cutter
Use jeweler's pliers and cutters, which are small enough for detail work and available from most jewelry supply stores. Avoid standard sized tools, which can mar the wire.
German- or Swiss-made tools—I highly recommend the Lindstrom brand—are the best quality. If you must choose the cheap brands, know that they tend to break more easily and they don't do the job the precision brands do.
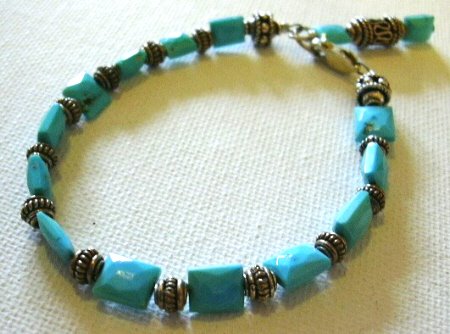
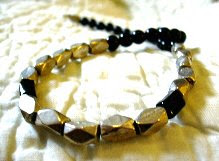
How much do the tools cost?Next, the tutorial covers the supplies needed to make a wire wrapped bracelet.
Prices for the tools vary depending on the quality.
Round-nose pliers: Don't stint on jeweler's round nosed pliersdesigned for making loops. Buy the best. The cheap round nose pliers are 1) too large (even those specifically made for jewelry) and 2) mar the wire visibly.
Flat-nose pliers, chain-nose pliers, or bent-nose pliers: Depending on how concerned you are about marring the surface of your wire slightly, you might be able to get away with cheap pliers because of the way these are used in jewelry making. Since these pliers are used to bend and flatten the jewelry wire, careful use can keep the wire marring to a minimum. You can probably buy a cheap, serviceable chain nose pliers, bent nose pliers, or flat nose pliers for under $15 that will do the trick. However, for the best results, buy the best.
Flush cutters: Don't stint. Buy quality flush cutters to cut thewire completely flush. When you make a wire cut, one end gets a burr. The other end should be completely flat. This is vital not just for aesthetic reasons, but to be able to close loops completely as well as to minimize sharp edges (something jewelry should never have).
Note: The blog owner may be compensated for the content of this article. See the full disclosure statement regarding compensation in compliance with FTC guidelines.
All Images and Text Copyright Ornatia 2009-2016. All Rights Reserved.

No comments:
Post a Comment